How to Take Flash Photos on iPhone (That Look Good)
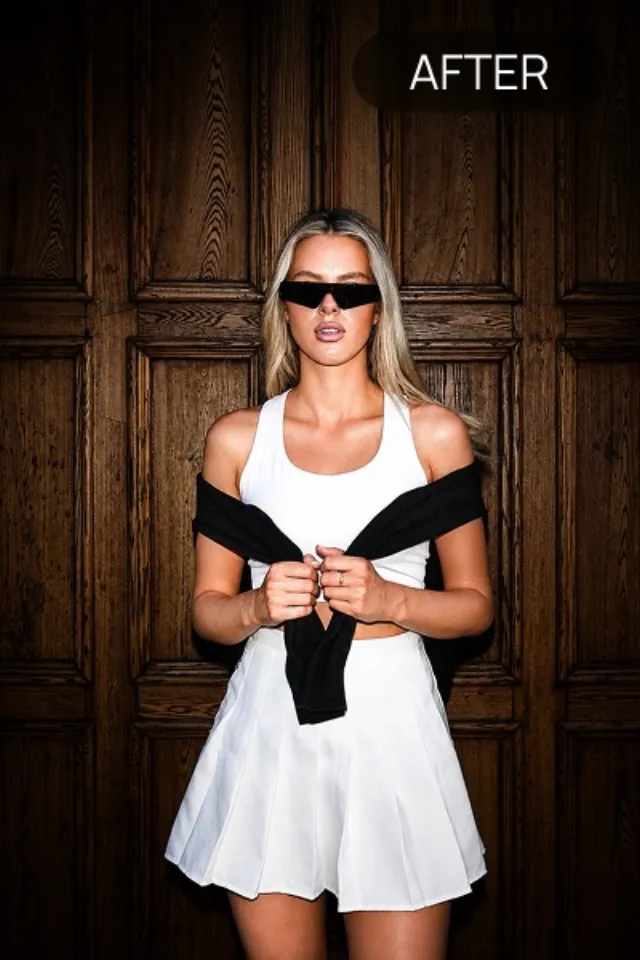
The iPhone flash is a small LED next to the lens, so it produces exactly the harsh, frontal light the disposable-camera look is built on. Getting a good result is mostly about distance and turning it on deliberately instead of leaving it on Auto.
Set flash to On, not Auto
Tap the flash icon (top-left in the Camera app, or swipe up on the controls) and choose On. Auto only fires when the phone thinks it's dark, so you lose the flash look in any half-lit room or at dusk, which is often exactly when you want it.
Stand 4-6 feet back
The number-one iPhone flash mistake is being too close. From arm's length the subject blows out and the background goes pure black. A few steps back lets the light spread and keeps skin from clipping.
Use the front flash for selfies
On recent iPhones the screen flashes white for front-camera shots (Retina Flash). It's softer than the rear LED but still gives that washed-out, caught-in-the-moment night-out look.
Why do my iPhone flash photos look yellow or green?
The LED flash has a fixed colour temperature that often clashes with indoor bulbs, giving a colour cast. Shooting where the flash is clearly the dominant light (a darker room, outdoors at night) avoids the mixed-light look.
Can I get the flash look without using the real flash?
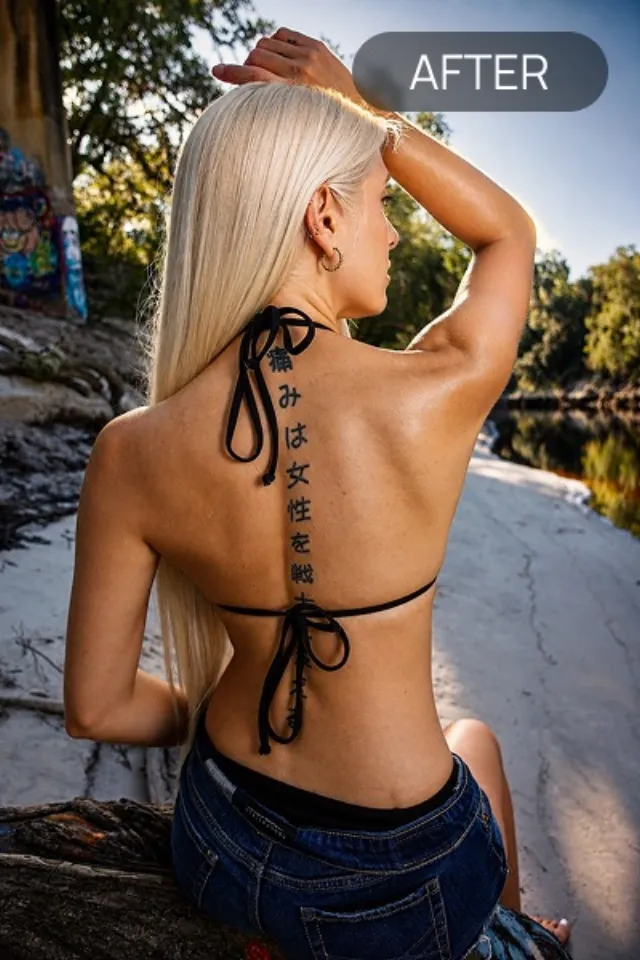
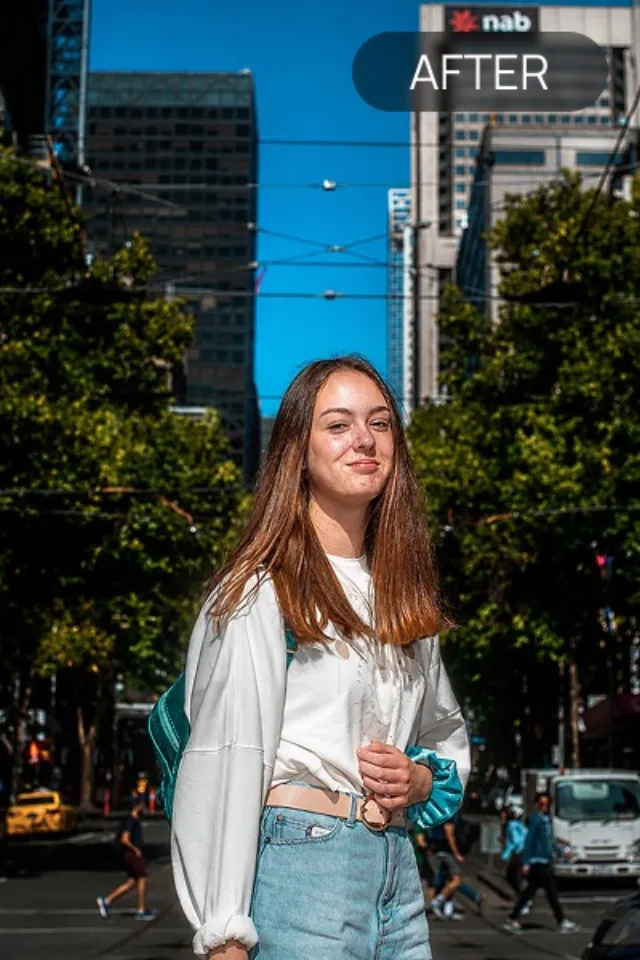
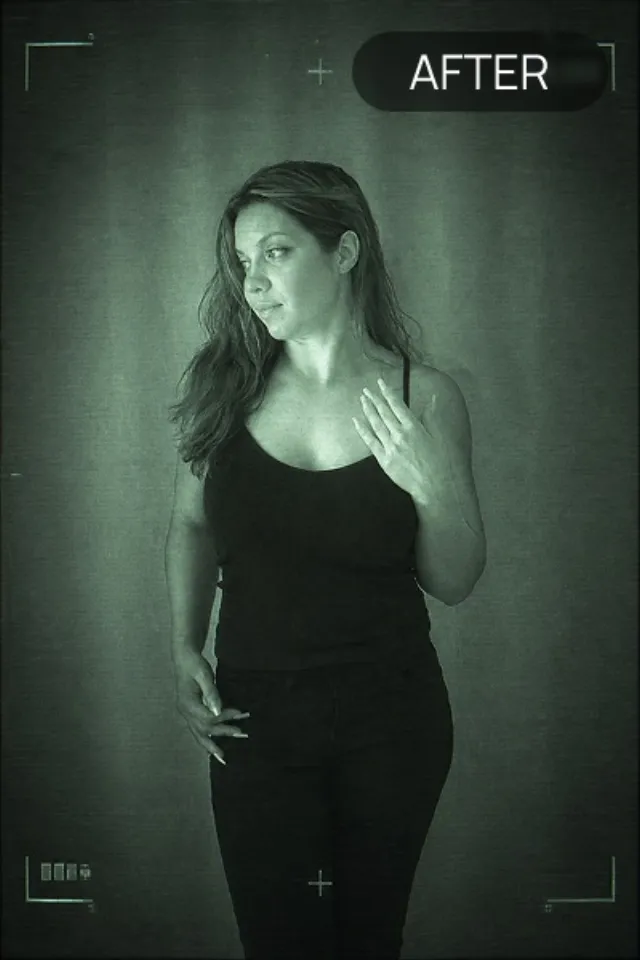
Yes — a flash-effect app restyles a normally-lit photo into a direct-flash look afterward, which also lets you keep a sharper, better-exposed original.